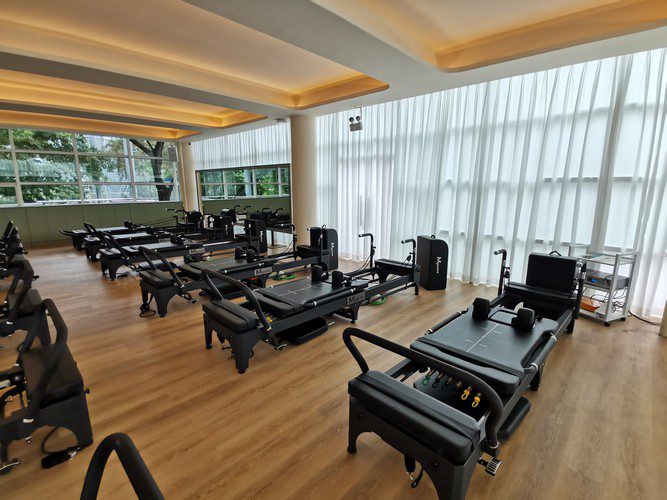
Pilates is a great way to improve your overall fitness and health, and owning your heavy duty Pilates reformer can enhance your experience. However, reformers can be very expensive to buy, which is why many people opt to build their own home machines. Building your reformer saves you money and allows you to customize your equipment to suit your specific needs. In this article, we’ll take you through a step-by-step process on how to build your heavy duty Pilates reformer.
- Gather the Required Materials and Tools
First, determine what specific features you want your Pilates reformer to have and gather the necessary materials accordingly. A complete list of materials you need includes plywood boards, springs, steel brackets, ropes, pulleys, and carriage wheels, among others. You would also need a drill, screwdriver, jigsaw, and a circular saw to cut the necessary parts.
- Construct the Frame
Using 2×4 lumber, begin constructing the frame. Create four rectangular pieces, including the top, bottom, and two sides, using cut lumber. Next, screw them together using the L brackets for reinforcement. Then, take the plywood boards and attach them to the frame edges, using screws and glue. For a smooth finish, sand the edges and cover it using wood varnish.
- Build the Sliding Carriage
Next, you will create the sliding carriage. First, attach the appropriate size wheels to the sled base using screws. Then, create the slats by cutting the plywood boards according to the sled’s measurement specifications. Once these are cut to size, drill the holes to fix the ropes to the pulley system and attach the appropriate size springs for resistance.

- Attach the Springs and Ropes
Attach the springs to your reformer in various configurations to create varying resistance levels. You also need to connect the ropes from the pulleys to the sliding carriage to move it back and forth with ease.
- Add Finishing Touches
Attach foam padding to the sliding carriage, foot bar, and straps for comfort. Sand all rough edges so that they’re smooth, treating them with wood varnish or other protective finishes for durability.
Conclusion
Building a heavy duty Pilates reformer is an excellent way to get started with Pilates workouts while saving some money on the cost. By following these steps, constructing your machine will become fun and easy, and you will have a custom-made Pilates reformer that matches your requirements. With your home machine, you have customized control over the length and height, added the features that suit you best, and you can always customize it further down the line as necessary. Remember to perform safety checks and make sure the machine is safe for use before starting on your Pilates routine.

0 Comments