
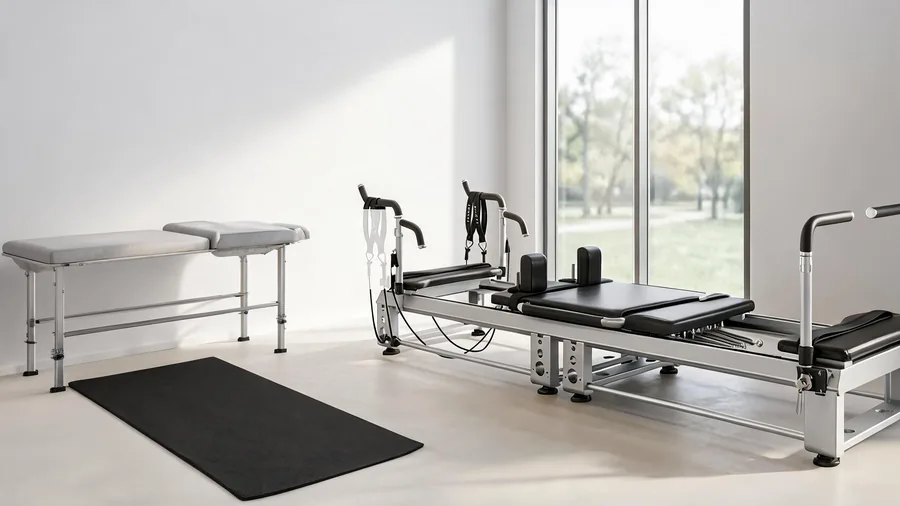
Physical therapists are adding the Pilates reformer to their treatment plans more than ever — not as a “nice extra,” but as a load-adjustable, low-impact tool for early mobilization, strength recovery, and chronic pain management. This guide walks through the actual clinical workflow: how to assess whether a client is ready, how to prescribe spring loads and footwork patterns, and how to progress or regress an exercise session by session.
1. A klinikai folyamat: a felméréstől a Reformer-programig
A gyógytornában a Reformer-program akkor működik a legjobban, ha ugyanazt a felépítést követi, mint bármely más kezelési terv: szűrés, kiindulási állapot, terápia előírása, progresszió, újraértékelés. A kiindulási mérés kihagyása a leggyakoribb hiba – kezdeti mérés nélkül (ízületi mozgástartomány, egy lábon állás ideje, fájdalompontszám 0–10-es skálán) nem tudja kimutatni az előrelépést sem a páciensnek, sem a beutaló orvosnak.
2. Figyelmeztető jelek: kiknek nem ajánlott a Reformer
A Reformer sokoldalú, de nem minden páciensnek való minden szakaszban. Zárja ki vagy halassza el a Reformer-gyakorlatokat, ha az alábbiak bármelyike fennáll:
- Akut törés vagy gyanított törés, amelyet képalkotó vizsgálat még nem igazolt
- Kezelés nélküli szív- és érrendszeri állapotok vagy instabil vérnyomás
- Akut porckorongsérv progresszív neurológiai tünetekkel (lógó láb, bél-/hólyagműködés változása)
- Nyílt sebek, súlyos bőrbetegségek vagy aktív fertőzés
- Szédülés vagy egyensúlyzavar, amely miatt a mozgó kocsi nem biztonságos
- Kognitív károsodás, amely miatt a páciens nem tudja követni a biztonsági utasításokat
Ha kétséges, kezdjen ülő vagy háton fekvő helyzettel, rögzített kocsival, és csak akkor lépjen tovább, ha a páciens bizonyítottan kontrolláltan végzi a mozdulatot.
2.1 A rehabilitációs szakaszok modellje: hova illik a Reformer
A rehabilitációt általában négy szakaszra osztják, és a Reformernek mindegyikben megvan a maga szerepe. Ha a pácienst a megfelelő szakaszhoz rendeli, elkerülheti az alulterhelést (lassú felépülés) és a túlterhelést (újrasérülés) is.
Ez a szakaszos megközelítés az oka annak, hogy a Reformer ilyen erős rehabilitációs eszköz: egyetlen gép lefedi mind a négy szakaszt, a rugórendszer pedig pontos, mérhető terhelésszabályozást ad, amit a kézi súlyzók és a kábelek nem tudnak nyújtani.
3. Rugórecept: gyakorlati kiinduló táblázat
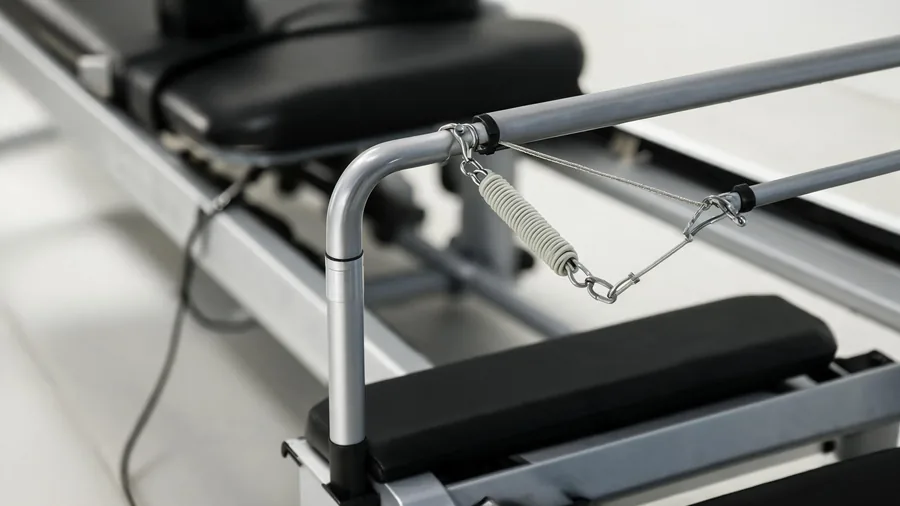
Spring load is the reformer’s version of a resistance prescription. For therapy work, the goal is control, not fatigue. A useful starting framework:
Ökölszabály: ha a páciens nem tud megcsinálni 8 kontrollált ismétlést stabil medencével, vegyen le egy rugót. Ha 15 ismétlést hibátlan formában, fájdalom fellángolása nélkül teljesít, előbb növelje az ellenállást vagy a komplexitást, és csak utána a terhelést.
4. Alap Reformer-minták gyakori diagnózisokhoz
4.1 Krónikus derékfájás
A háton fekvő lábmunka (semleges medencével) a legbiztonságosabb belépő: a Reformer ágya megtámasztja a gerincet, miközben a lábak ismert ellenállás ellen dolgoznak. Ezután jöhet a rövid gerinc (csak csípőhajlításos változatban, osteoporosisos páciensnél teljes letekeredés nélkül), majd a támogatott hasmunka rögzített kocsival.
4.2 Teljes ízületi protézis után
For hip and knee replacements, the key is controlled range with minimal shear. Footwork on the lowest spring, with the footbar at the highest setting, allows the patient to self-limit range. Avoid deep knee flexion beyond the surgeon’s restrictions, and never use the jump board in the first 12 weeks.
4.3 Stroke és neurológiai rehabilitáció
The reformer’s sliding carriage provides predictable, low-fear movement that suits hemiparetic patients. Use the unaffected leg to assist the affected leg during footwork (bilateral facilitation), and add visual targets for weight-shifting drills. Sessions should stay short (15-20 minutes) with frequent rest.
4.4 Váll- és felső végtagi rehabilitáció
Az ülő karmunka a Reformerben (mellkasnyitás, evezés) fokozatos ellenállást ad a vállon keresztül, excentrikus túlterhelés nélkül. Rotátorköpeny-rehabilitációnál a korai szakaszban tartsa a kart 90 fok alatt, és csak fájdalommentes állapotban lépjen tovább fej fölé nyúló mintákra.
5. A Reformer-óra felépítése: 40 perces sablon
Egy terápiás óra ne úgy nézzen ki, mint egy csoportos óra. Használja ezt a felépítést:
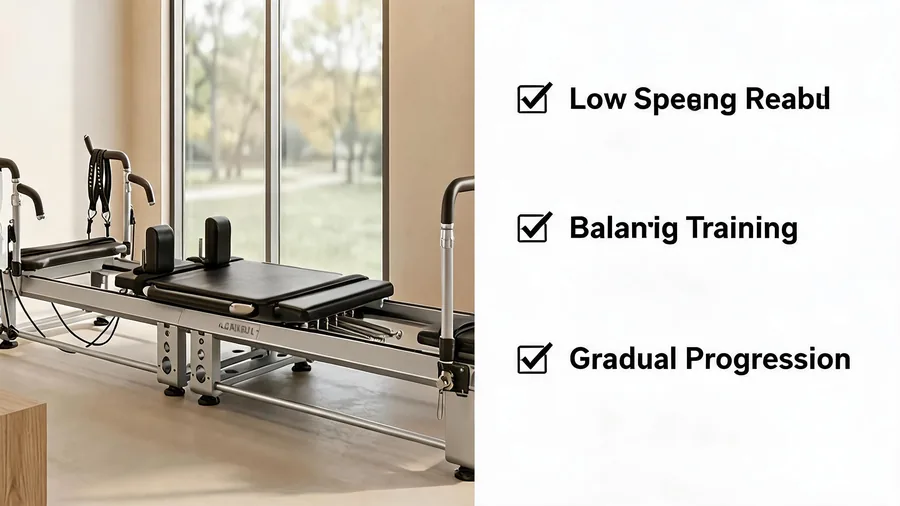
- Minutes 0-5: Subjective check-in, pain score, today’s goal
- 5–10. perc: bemelegítés a Reformeren (lábmunka, könnyű rugók) + a kiindulási mozgás újraértékelése
- 10–25. perc: elsődleges kezelési blokk (2–3, a diagnózisra szabott minta)
- 25–35. perc: másodlagos blokk (stabilitás, egyensúly vagy funkcionális mozgás)
- 35–40. perc: levezetés, az otthoni program áttekintése, a következő óra terve
6. A haladás dokumentálása: mit rögzítsünk minden órán
A Reformert sikeresen alkalmazó rendelők következetesen dokumentálnak. Óránkénti minimum adatok: fájdalompontszám, használt rugóterhelés, ismétlésszám, tempó és minden új tünet. Ez az adat indokolja a biztosítói elszámolást, és ezt akarják látni a beutaló orvosok is.
6.1 Esetpélda: egy működő krónikusfájdalom-program
Egy 52 éves, két éve fennálló krónikus derékfájással élő páciens (átlagos fájdalom 6/10) a konzervatív kezelés ellenére nem javult, és műtét nélkül szeretett volna megoldást. A rendelő heti kétszeri Reformer-órával kezdte: háton fekvő lábmunka két könnyű rugón, semleges medencés törzsmunka és ülő karminták. A 6. hétre az átlagos fájdalompontszáma 3/10-re csökkent, visszatért a 40 perces sétákhoz, és egy teljes munkanapot végig tudott ülni. A 12. hétre engedélyt kapott könnyű erősítésre, és heti egy Reformer-fenntartó órán folytatta.
A sikert nem a gép hozta, hanem a fokozatos, mérhető progresszió és az óránkénti dokumentált újraértékelés. A Reformer egyszerűen lehetővé tette ezt a haladást anélkül, hogy súlyosbította volna a sérülést.
6.2 Gyakori hibák a Reformer-rehabilitációban
- Túl gyors előrehaladás: ha a páciens még az aktuális szinten sem kontrollál fájdalommentesen, és máris több rugót vagy bonyolultabb gyakorlatot kap, az az újrasérülés legfőbb oka
- A medence figyelmen kívül hagyása: ha a medence lábmunka közben billeg vagy eltolódik, a törzsstabilizáló hatás elvész
- Nincs kiindulási mérés: kiindulási mérés nélkül nem tudja bizonyítani az előrelépést a páciensnek, a biztosítónak vagy a beutalónak
- Az ugródeszka túl korai használata: a becsapódásos terhelésű gyakorlatok csak a 4. szakaszban valók, és csak kifejezett engedéllyel
- Mindenkire egyforma rugóbeállítás: egy krónikus fájdalommal élő páciens és egy műtét utáni sportoló teljesen más terhelést igényel
7. Reformer választása gyógytorna-rendelőbe
A klinikai munka olyan jellemzőket kíván, amelyekkel egy otthoni Reformer nem rendelkezik. Elsőbbséget élvez: az alacsony, stabil váz a könnyű átültetéshez, a simán és halkan futó kocsihengerek, az állítható lábtartó-magasság, az egyértelműen jelölt rugóterhelés, valamint legalább 350 lb (158 kg) teherbírás az elhízott páciensek miatt. Ha neurológiai pácienseket is kezel, olyan Reformert válasszon, amelynek széles a kocsija, és opcionális fogantyúkkal is rendelkezik a kéz elhelyezéséhez.
Ha a rendelő több darabot vásárol, a megerősített vázú, kereskedelmi garanciával adott professzionális Reformer a biztonságosabb befektetés – az otthoni kivitel nem bírja a napi klinikai használatot.
8. Gyakori kérdések
Mennyi idővel a műtét után kezdheti a páciens a Reformer-gyakorlatokat?
Csak azt követően, hogy a sebész vagy a kezelőorvos engedélyezte a terhelést és a mozgást. A gyakorlatban a legtöbb protézisprotokoll a 2. és 4. hét között engedi a háton fekvő Reformer-munkát, de ez a beavatkozástól és az egyéni gyógyulástól függ. Mindig a dokumentált korlátozásokon belül dolgozzon.
Helyettesítheti a Reformer a hagyományos gyógytorna-eszközöket?
Nem – kiegészítés, nem helyettesítés. A Reformer kiváló a fokozatos ellenállású és zárt láncú munkához, de továbbra is szükség van kezelőasztalra, ellenállásszalagokra és manuálterápiás ismeretekre. Tekintse egy újabb eszköznek a kezelőben.
Elég egy Reformer egy gyógytorna-rendelőnek?
Egyéni vállalkozónak egy jól megválasztott professzionális Reformer elég a kezdéshez. Ha a Reformer-órák száma meghaladja a napi 6–8-at, a második gép (vagy egy toronnyal felszerelt Reformer) általában néhány hónap alatt megtérül.
Kell Pilates-végzettség a gyógytornásznak a Reformer használatához?
Legally, in most regions, no — a PT license covers exercise prescription. But a formal Pilates reformer certification (such as Polestar, BASI, or Balanced Body’s clinical track) materially improves outcomes and reduces liability. Many clinics require it before therapists work with complex patients unsupervised.
9. Kapcsolódó útmutatók
Klinikai programját építi? Ezek az útmutatók a felszerelés többi részét tárgyalják:
- Reformer Pilates rehabilitációban: klinikai alkalmazások – a pácienscsoportok és alkalmazási területek teljes listája
- Pilates Reformer csontkovács-klinikák számára – eszközútmutató klinikai környezethez
- Pilates Stúdióberendezés Ellenőrzőlista – minden, amire a nyitás előtt szükség van
- Kereskedelmi kontra lakossági reformerek – miért számít a klinikai minőségű váz
10. Eszköz-ellenőrzőlista a gyógytorna-rendelőjéhez
Vásárlás előtt ellenőrizze ezeket a paramétereket a gyártónál (a Megacore professzionális Reformerjein mind alapfelszereltség):
- Teherbírás: 350+ lb / 158+ kg
- Kocsi hossza: legalább 38 in / 96 cm a magasabb pácienseknek
- Állítható lábtartó rúd: legalább 4 magassági pozíció
- Rugórendszer: 4+ egyértelműen jelölt rugó, nulla rugós lehetőséggel
- Vázstabilitás: megerősített acél, terhelés alatt sem hajlik
- Garancia: kereskedelmi garancia (3 év vagy több) a vázra és a rugókra
Nem biztos benne, melyik kivitel illik a pácienseihez? Forduljon csapatunkhoz rendelője méretével és a rendelkezésre álló hely méreteivel – javaslunk egy összeállítást, beleértve az opcionális torony- és trapéz-tartozékokat is.
Clinics usually specify from the clinical reformer options, where carriage height and spring ratings are listed.