
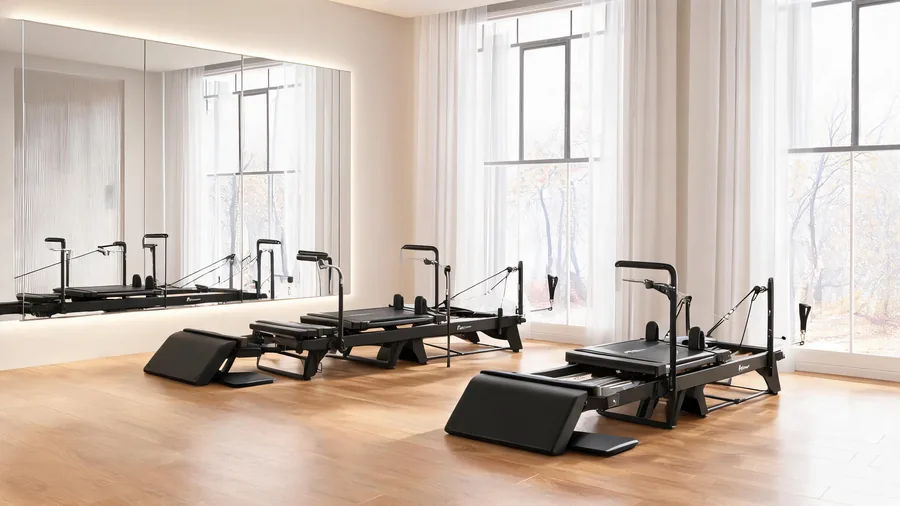
The jump board turns a Pilates reformer into a low-impact cardio and power tool — but only if you teach it with structure. Random jumping burns clients out and scares off beginners; a programmed approach builds stamina safely and keeps classes full. This guide covers the jump board from the instructor’s seat: spring and board setup, progressions that respect joints, session templates, and the safety protocols that keep you protected.
1. How the Jump Board Works (and Why It Is Not “Just Jumping”)
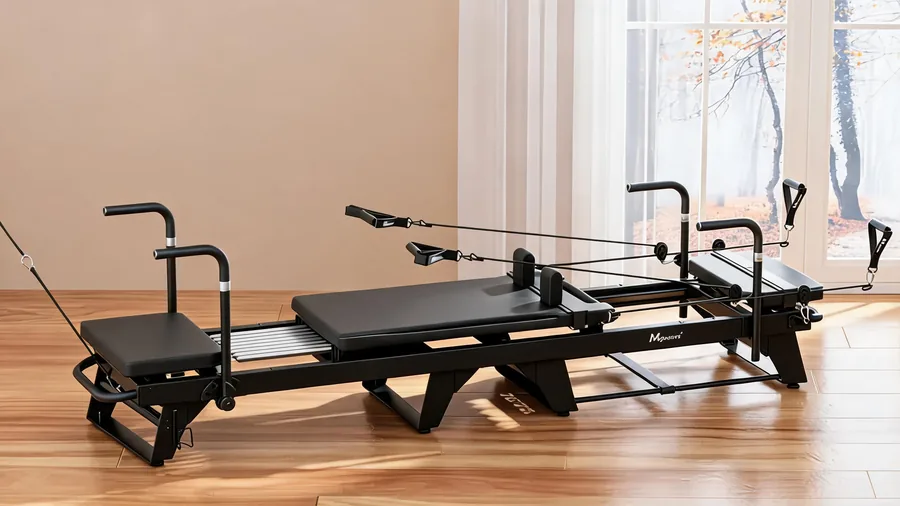
Jump Board, reformerin ayak barı ucuna takılır. Danışan taşıyıcı üzerinde yatar, oturur veya ayakta durur ve tahtadan iterek yaylarda ileri geri gider. Koşu veya kutu sıçramalarının aksine, yaylar inişi emer — dizler ve omurga üzerindeki etki, zeminde yapılan kardiyonun çok küçük bir kısmıdır. Jump Board'un klinik gerekçesi budur: kontrollü, düşük etkili inişlerle kardiyovasküler ve güç antrenmanı.
Ancak yaylar, tekniğin daha da önemli olduğu anlamına da gelir. Çok sert iterseniz taşıyıcı çarpar; gergin inerseniz geri tepme omurgayı sarsar. Jump Board'u iyi öğretmek, yalnızca eforu değil yay zamanlamasını öğretmektir.
2. Yay Seçimi ve Kurulum: Temel
| Danışan profili | Yaylar | Tahta konumu |
|---|---|---|
| Jump Board'a yeni başlayan | 2 hafif yay | En düşük ayar, taşıyıcıya yakın |
| Genel fitness sınıfı | 2 orta yay | Orta ayar |
| İleri seviye / atletik | 3-4 yay (değişken) | En yüksek ayar, daha fazla hareket mesafesi |
| Yaralanma sonrası (yalnızca izinli) | 1-2 hafif yay | En düşük, yalnızca kısa mesafe |
Kural: yaylar inişi yakalamalı, itişe karşı koymamalıdır. Taşıyıcı dibe vurursa veya danışan geri dönmekte zorlanırsa yükü azaltın. Hareket ölü ve ağır hissettiriyorsa bir yay ekleyin.
3. Jump Board Progresyon Basamağı
Danışanları bu sırayla ilerletin — hiçbir basamağı atlamayın:
- Aşama 1 — Oturarak sıçramalar: ayaklar tahtada, kalçalar hafifçe kalkık, küçük kontrollü sıçramalar. Tam etki olmadan yay ritmini öğretir.
- Aşama 2 — Ayakta küçük sıçramalar: iki ayak, dizler gevşek, küçük mesafe. Odak: sessiz iniş, taşıyıcı asla çarpmaz.
- Aşama 3 — Tam sıçramalar: tam mesafe, kollar doğal biçimde sallanır. Odak: tutarlı tempo, dönüşte zıplama yok.
- Aşama 4 — Tek bacak ve yönlü: dönüşümlü ayaklar, küçük yan yana veya öne-arkaya hareketler. Odak: asimetri altında kontrol.
- Aşama 5 — Güç intervalleri: tam dinlenmeli maksimum efor patlamaları. Atletik danışanlar ve imza sınıfları için.
Çoğu grup sınıfı aşama 2 ile 4 arasında çalışır. Aşama 5 yalnızca özel atletik veya imza sınıflarında yer alır.
4. Kullanıma Hazır Seans Şablonları
4.1 20 Dakikalık Jump Board Eklentisi (her sınıf için)
- 0-3 dk: Kurulum, yay kontrolü, eklem hareketliliği (ayak bilekleri, kalçalar)
- 3-7 dk: Oturarak sıçramalar + ayak işi ısınması
- 7-12 dk: Ayakta sıçramalar, orta tempo, 45 sn çalışma / 15 sn dinlenme
- 12-16 dk: Dönüşümlü ayaklar + küçük yönlü hareketler
- 16-20 dk: Soğuma ayak işi, yavaş yaylar, ayak bileği esnemeleri
4.2 50 Dakikalık İmza Jump Board Sınıfı
- 0-8 dk: Tam ısınma (ayak işi, omurga hareketliliği, nefes)
- 8-15 dk: Aşama 1-2 progresyonu (herkes ritmi öğrenir)
- 15-30 dk: İnterval bloğu — 40 sn çalışma / 20 sn dinlenme, tam sıçramalar ile ayak işi toparlanması dönüşümlü
- 30-40 dk: Güç bloğu (izinli danışanlar için aşama 4-5, diğerleri için oturarak sıçramalar)
- 40-45 dk: Reformerde core + üst vücut (amaçlı toparlanma)
- 45-50 dk: Soğuma, hamstring ve baldır esnetme
Jump Board sınıflarını güvenli ve tekrarlanabilir kılan şey interval yapısıdır: yoğun çalışma her zaman yay destekli bir toparlanma deseniyle dönüşümlüdür, zeminde tam dinlenme asla olmaz.
5. Her Eğitmenin İhtiyaç Duyduğu Güvenlik Protokolleri
- Tarama: yakın zamanda diz/ayak bileği ameliyatı geçirmiş, akut disk sorunu, gebelik (izin alınmadan) veya denge bozukluğu olan danışanlar için Jump Board yok. Yaralanma sonrası danışanlar için yazılı izin alın.
- Tahta kontrolü: her sınıftan önce tahta bağlantısını ve kayışları kontrol edin — hızlıyken gevşek bir tahta ciddi yaralanma riskidir.
- Ayakkabı: tutmalı çorap veya ayakları güçlü ileri seviye danışanlar için yalın ayak. Asla kaygan çorap.
- İniş ipucu: “soft knees, quiet landing” — the carriage should never slam. Stop the set immediately if it does.
- Bloğu sınırlayın: grup sınıflarında seans başına en fazla 15-20 dakika Jump Board çalışması; formun bozulduğu yer yorgunluktur.
- Acil durdurma: her danışan taşıyıcıyı durdurmak için yayları bırakmayı veya ayaklarını çerçeveye basmayı bilir.
6. Jump Board Sınıflarının Pazarlanması (ve Fiyatlandırılması)
Jump board classes are among the most marketable reformer offerings because they promise a visible benefit: cardio in a Pilates studio. Position them as “cardio on the reformer — no impact on your joints.” Popular formats that sell: 20-minute add-ons (premium of $10-15), 50-minute signature classes (premium of $5-10 over standard), and athlete-focused conditioning blocks. Word-of-mouth drivers: post short clips of the class, track member attendance, and offer a “first jump class free” for members.
7. Jump Board Egzersizleri Hakkında Sıkça Sorulan Sorular
Jump Board çalışması diz sorunu olan danışanlar için güvenli mi?
Koşullu olarak olabilir: hafif yaylar, küçük mesafe, yalnızca oturarak veya düşük aşama çalışması ve tedavi eden uzmandan yazılı izin. Yaylar iniş etkisini emer; bu da zeminde sıçramaya göre daha yumuşaktır — ancak aktif diz ağrısı olan her danışan ağrısı geçene kadar aşama 1'de (oturarak sıçramalar) kalmalıdır.
Bir Jump Board aparatı ne kadar?
Jump Board aparatları, yapı kalitesine bağlı olarak genellikle 100 ila 400 $ arasındadır. Güçlendirilmiş bağlantı elemanlarına sahip ticari sınıf tahtalar daha pahalıdır ancak günlük sınıf kullanımına dayanır — ev tipi tahtalar tekrarlanan ağır sıçramalar altında montaj noktasından çatlayabilir. Satın almadan önce tahtanın reformer modelinizle uyumlu olduğunu doğrulayın.
Herhangi bir reformerde Jump Board kullanabilir miyim?
Most modern reformers accept a compatible jump board, but mounting systems vary by brand and model. Check the manufacturer’s compatibility list — using an incompatible board risks frame damage and injury. If you are buying reformers for a jump board program, confirm the board compatibility at purchase time.
Bir Jump Board sınıfında kaç kalori yakabilirim?
Tahminler, orta tempolu bir sınıf için saatte 300-500 kalori arasında değişir; tempolu kardiyoya benzer ancak eklem etkisi daha düşüktür. Gerçek sayı; vücut ağırlığına, yay yüküne ve çalışma intervalllerine bağlıdır — güç intervalleri sabit sıçramalardan daha fazla yakar. Bu bir kondisyon aracıdır, bir zayıflama hilesi değil; güç ve kontrol faydaları da kalori sayısı kadar önemlidir.
Jump Board sınıfları vermek için özel bir sertifikaya ihtiyacım var mı?
Çoğu düzenleyici kurum ayrı bir sertifika gerektirmez, ancak tam bir reformer eğitmeni sertifikası şiddetle önerilir. Halka açık ders vermeden önce progresyonları, güvenlik protokollerini ve kontrendikasyonları öğrenmek için bir uzmanlık atölyesi ekleyin (pek çok Pilates okulu jump board modülleri sunar).
8. Bir Jump Board Programı İçin Reformer Seçimi
Haftada kaç jump sınıfı düzenlediğinizi bize söyleyin; doğru çerçeve ve tahta konfigürasyonunu önerelim — ekibimizle konuşun.
Her reformer günlük Jump Board kullanımını kaldırmaz. Şunlara dikkat edin: güçlendirilmiş bir çerçeve (hafif alüminyum değil çelik), tekrarlı yüklemeye uygun ağır hizmet yayları, esnemeyen sabit bir ayak barı ve uyumlu bir ticari Jump Board. Haftada birden fazla jump sınıfı düzenliyorsanız katlanabilir veya ev tipi çerçevelerden kaçının — tekrarlanan etki bağlantılarını hızla yıpratır.
9. İlgili Kaynaklar
Reformer programınızı genişletiyor musunuz? Şu rehberimize bakın: karma seviyeli sınıflar için reformer egzersizlerini değiştirme ve sıralama, ve şu: tam reformer aksesuar kataloğu jump board'lar, kutular ve tower aparatları için.
- Pilates reformer boyutlandırma rehberi — Jump Board uyumluluğu için çerçeve özellikleri
- Pilates reformer boks antrenmanı — bir başka imza sınıfı formatı
- Ticari Pilates reformerlar — Jump Board'a hazır konfigürasyonlar